STEP 1 of 7

STEP 2 of 7
The menu shown on the right will appear. Please tap on “Settings” option from the menu.

STEP 3 of 7
In your “Settings” screen, tap on the “Pair Fitness Device” row and select your fitness provider. In this example, a provider has not been set yet.

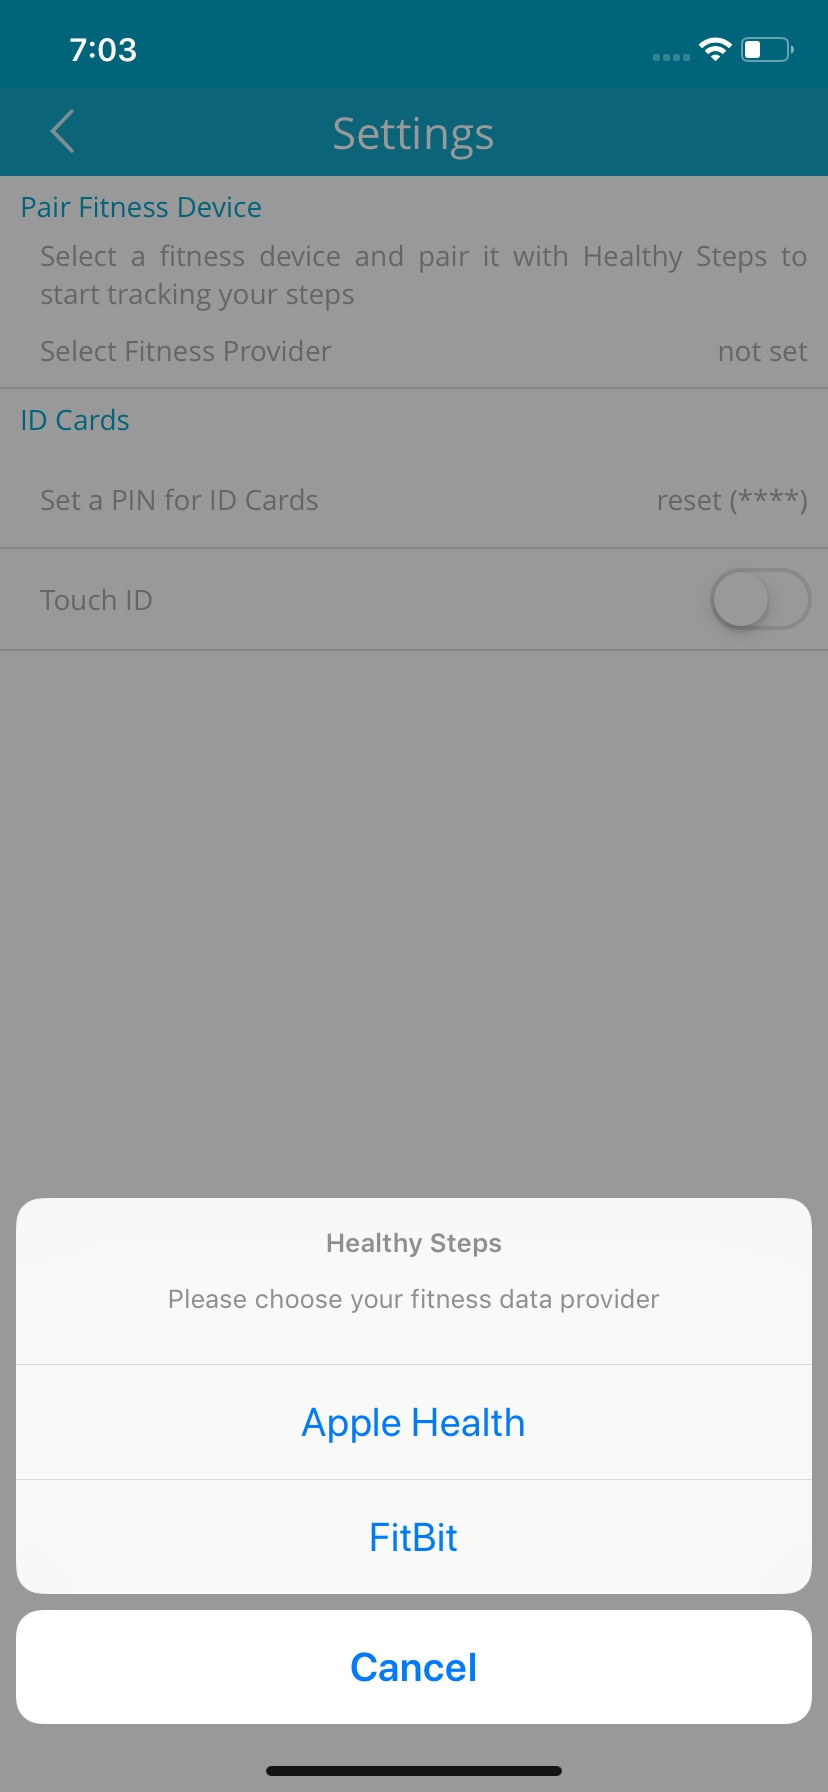
STEP 4 of 7
Choose your fitness data provider from the pop-up menu that appears (as shown on the right). In this example, an Apple Watch user would tap on “Apple Health”.
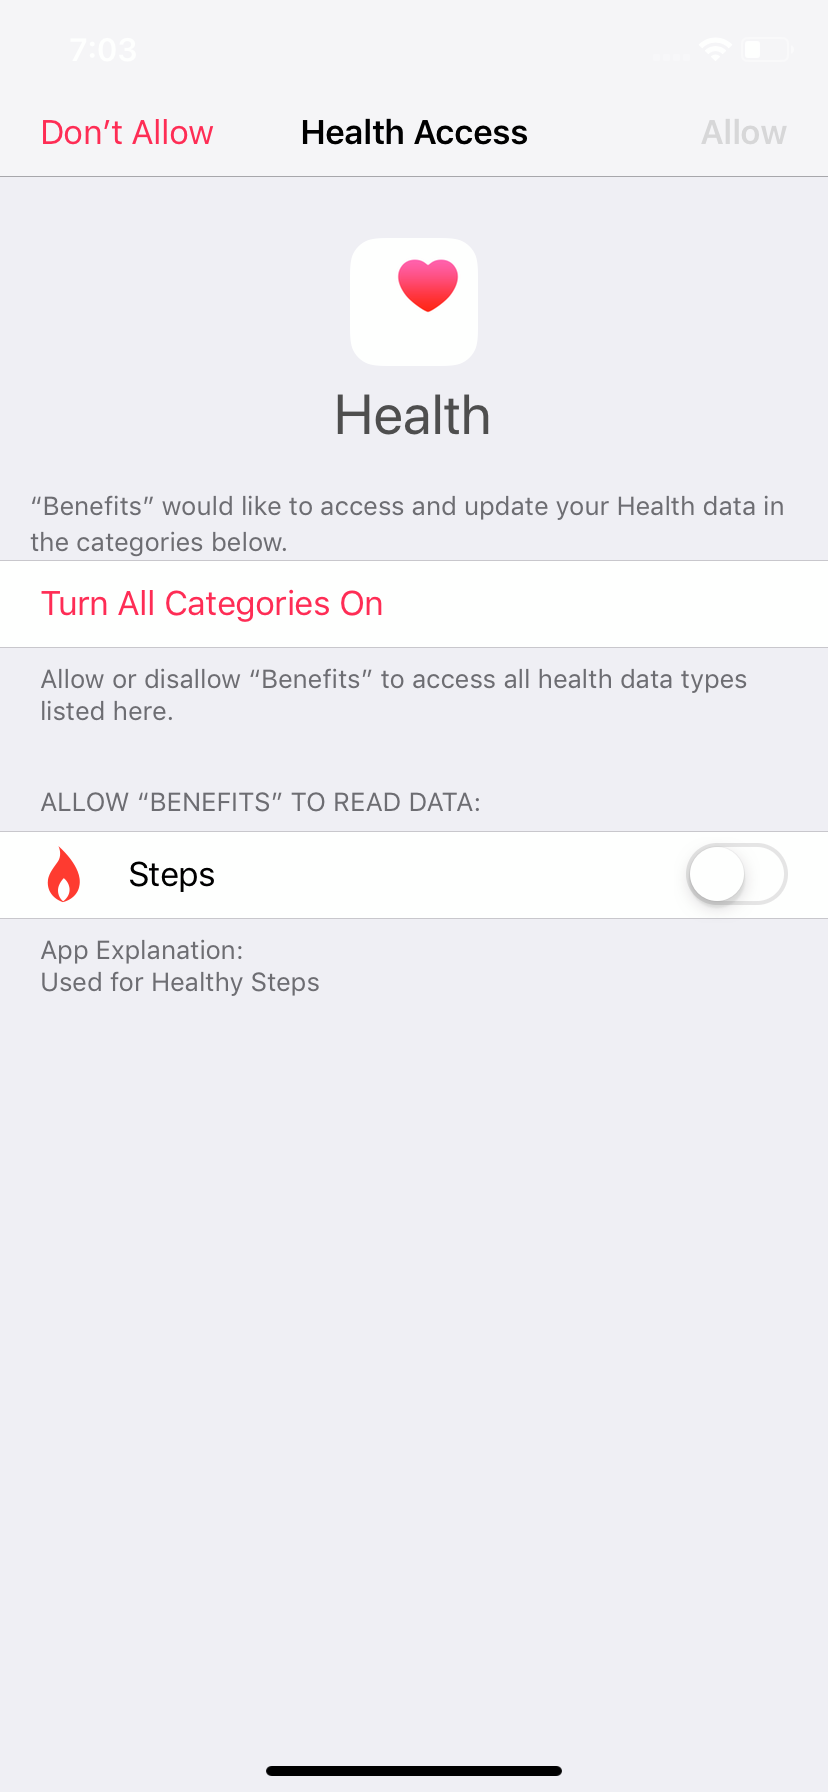
STEP 5 of 7
You will then see this screen. Tap on the words in red that says, “Turn All Categories On”.
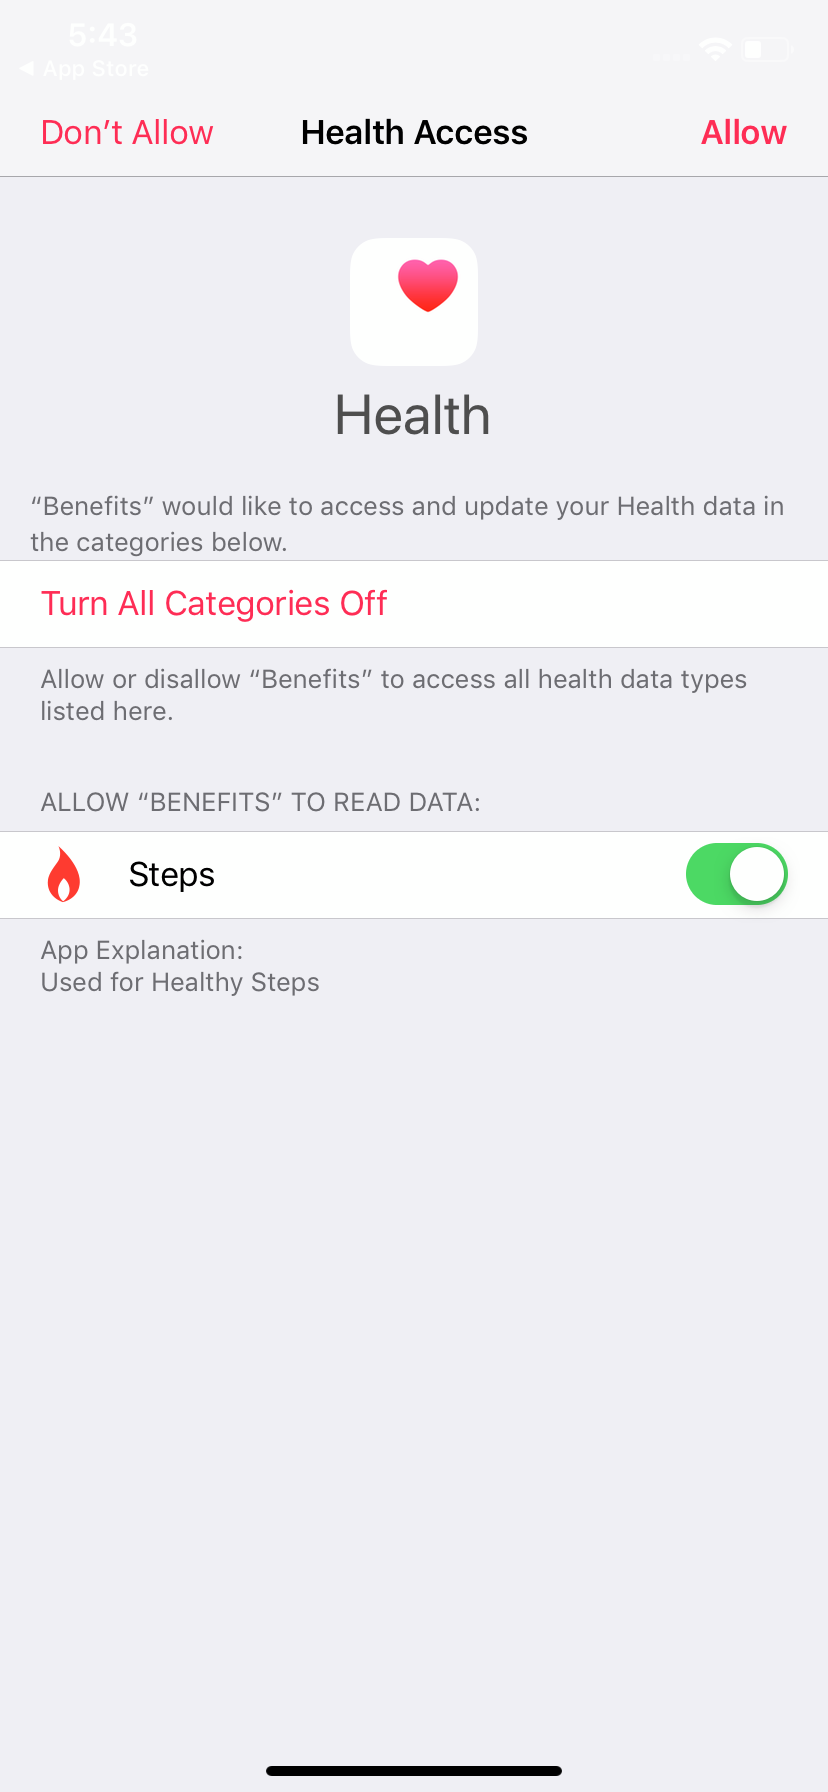
STEP 6 of 7
You will notice the word “Allow” at the top right hand corner of the screen has turned red. Please tap on “Allow” to gain access.
STEP 7 of 7
The “Settings” screen (as shown on the right) appears and confirms that you are successfully paired to your “Health App” (Apple Watch). Congratulations!